


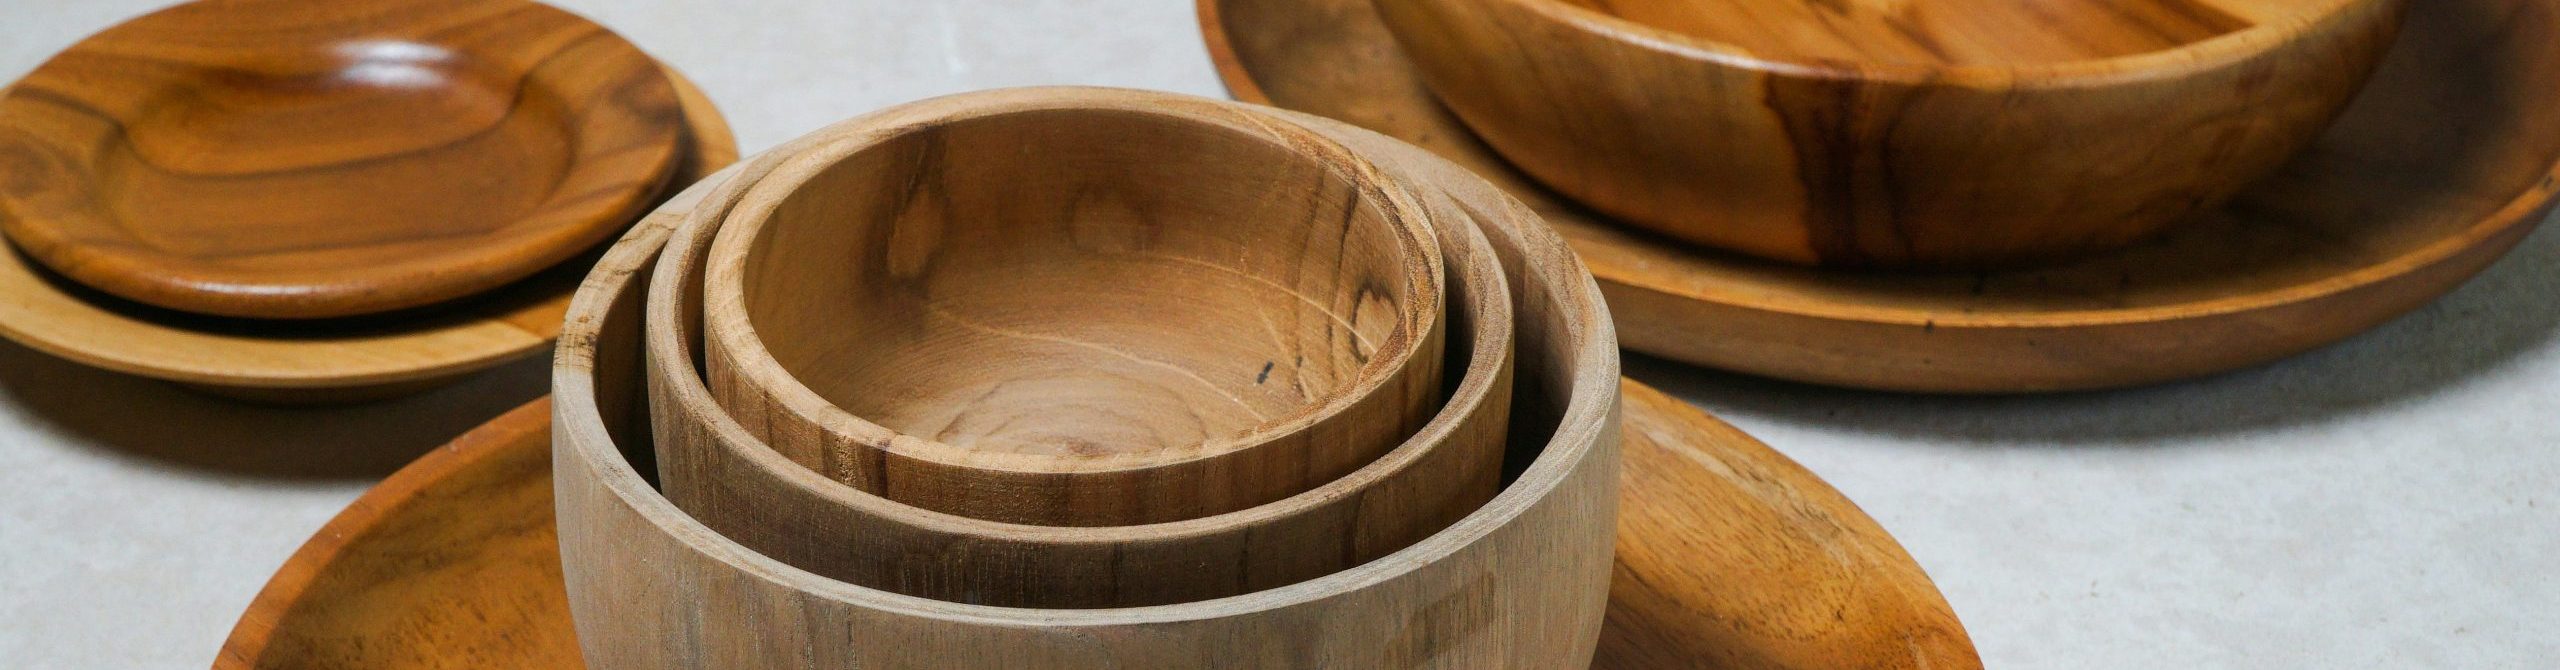
Most wooden bowls are made in one of two ways. They are turned on a lathe, where a block of wood spins while the maker shapes it with steel tools, or they are carved by hand with gouges and knives. Either way, the bowl is then sanded smooth and finished with a food-safe oil.
That is the short version. The longer story matters only a little to anyone buying a bowl, so this guide keeps the making part brief and spends more time on what you will actually use: how to pick the right size, and how to clean and season a wooden bowl so it looks good for years.
How a wooden bowl is made
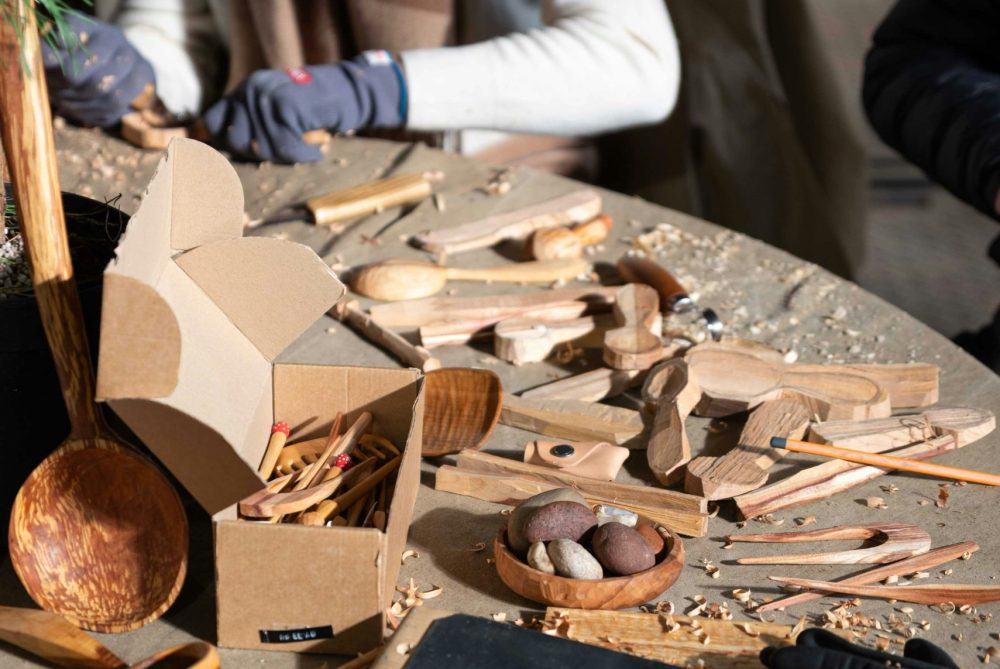
Every maker has their own habits, but nearly every wooden bowl goes through the same four stages.
- Cutting the blank. The maker cuts a rough round of wood, called a blank, from a log or a thick slab.
- Shaping. On a lathe, the blank spins while gouges cut away the outside and then hollow the inside. Hand-carved bowls are shaped with chisels and knives instead, which takes longer and leaves a more textured surface.
- Drying. Fresh wood shrinks and moves as it dries. Many makers rough out the bowl, let it dry for weeks or months, and then turn it a second time to its final shape, so it stays round.
- Sanding and finishing. The bowl is sanded through finer and finer grits until it feels smooth, then rubbed with a food-safe oil that protects the wood and brings out the grain.
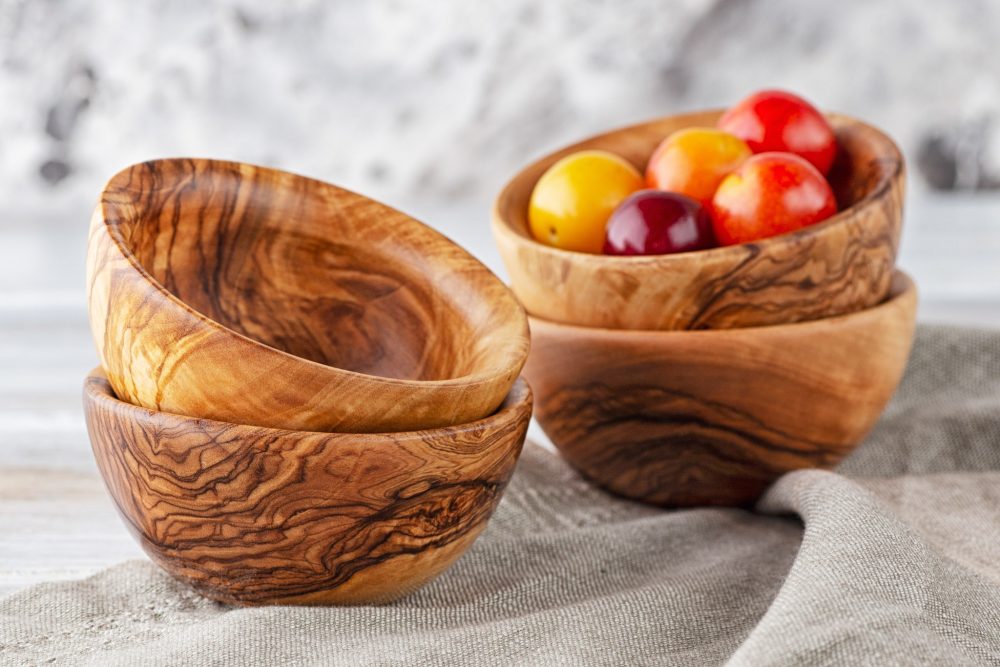
Olive wood bowls take extra patience. The wood is dense and the grain is wild, so it can crack while drying. When it works, the grain wraps all the way around the bowl and no two look alike.
Which woods are used for bowls
Bowl makers favor hardwoods with a tight grain, because they hold up to daily use and do not soak up liquids as quickly.
- Maple: light in color, hard and very even. A classic for salad bowls.
- Cherry: a warm reddish brown that deepens with age.
- Walnut: dark and rich, and it hides stains well.
- Olive wood: golden with dark streaks, very dense, and different in every piece.
You can see our olive wood and other wooden bowls, which are finished with a food-safe finish and ready to use.
How to choose the right size
The most common mistake is buying a bowl that is too small for the job. Use this as a starting point:
| Size (across the top) | Best for |
| Small, 4 to 6 inches | Olives, nuts, dips, salt or a single serving of snacks |
| Medium, 8 to 10 inches | A side salad for two to four, fruit for a small kitchen, popcorn |
| Large, 11 to 14 inches | A family salad, bread for the table, a fruit centerpiece |
| Long and shallow (dough bowl) | Decor, bread, or a table centerpiece with seasonal fillers |
A few more things to think about:
- Depth matters for salad. A deeper bowl gives you room to toss without sending lettuce over the edge.
- Shallow bowls show off what is in them. They suit fruit, bread and centerpieces.
- Serving or display? If the bowl will hold food, make sure it has a food-safe finish. A decorative bowl with a lacquer or paint finish is for display only.
How to clean a wooden bowl
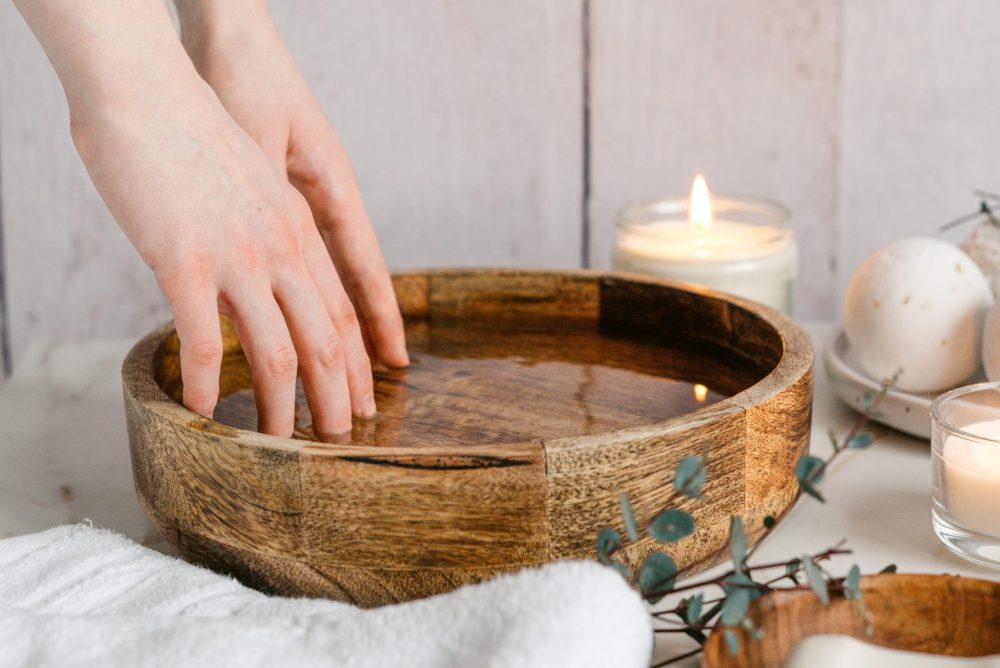
Cleaning a wooden bowl takes about a minute:
- Rinse it soon after use. Do not let dressing or food sit in it overnight.
- Wash with warm water, a little dish soap and a soft sponge.
- Rinse and dry it right away with a towel.
- Let it finish drying on its side or upside down on a rack, so air can reach every surface.
Two rules keep a wooden bowl from cracking or warping:
- Never soak it. Wood absorbs water for as long as it sits in it.
- Never put it in the dishwasher. The long hot wash and heated drying are the fastest way to split a bowl.
If a bowl picks up a smell from garlic or onion, scrub it with coarse salt and half a lemon, then rinse and dry.
How to season a wooden bowl
Seasoning simply means rubbing in oil so the wood does not dry out. A seasoned bowl resists stains, keeps its color and is less likely to crack.
- Start with a clean, completely dry bowl.
- Pour in a spoonful of food-grade mineral oil and rub it over the inside, outside and rim with a soft cloth.
- Let it soak in for a few hours, or overnight if the wood looks very dry.
- Wipe off any extra oil so the bowl does not feel greasy.
How often? About once a month for a bowl you use often, and whenever the wood starts to look pale or feel rough. A board cream made of mineral oil and beeswax works well as a final coat.
Skip olive oil and other cooking oils. They go rancid in the wood and leave a sticky, stale smell. Our cutting board care guide explains why, and the same routine works for bowls, boards and utensils. For spoons and rolling pins, see our guide to caring for a wooden rolling pin.
Fixing common problems
The bowl looks dull and dry. It needs oil. Give it a generous coat and let it sit overnight.
The surface feels fuzzy. Water raised the grain. Sand lightly with fine sandpaper (220 grit), wipe off the dust and oil it again.
There is a small crack. Keep it oiled and away from heat and soaking. A hairline crack on the surface is usually cosmetic, but if liquid seeps through, use the bowl for dry foods or display.
Frequently Asked Questions About Wooden Bowl
Are wooden bowls safe for food?
Yes, as long as they have a food-safe finish. Oiled wooden bowls have been used for serving food for centuries.
Can you put hot food in a wooden bowl?
Warm food is fine. Avoid pouring in boiling liquids or leaving soup in the bowl for long, since heat and moisture together can make the wood move.
Can wooden bowls go in the dishwasher?
No. Wash them by hand with warm, soapy water and dry them right away.
How often should I oil a wooden bowl?
About once a month with regular use, or whenever the wood looks pale or dry.
What is the best oil for a wooden bowl?
Food-grade mineral oil. It has no taste or smell and does not go rancid. A mineral oil and beeswax cream makes a good top coat.