

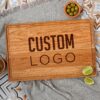
A personalized cutting board can turn an everyday kitchen essential into a meaningful gift or keepsake. But creating a clean, lasting engraving takes more than choosing a design.
So, how do you engrave a cutting board?
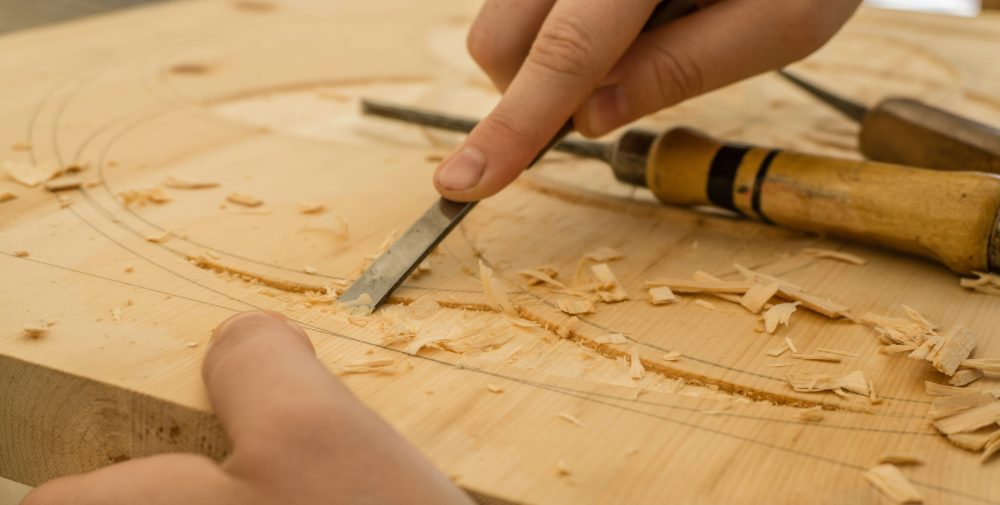
The most common methods are laser engraving, wood burning, rotary engraving, and hand carving. The best method depends on the type of wood, the level of detail you want, and the tools available to you.
For detailed logos, names, and illustrations, laser engraving offers the most consistent results. But before you start engraving, choosing the right wood and preparing your design are just as important.
Here’s what to know.
4 Ways to Engrave a Cutting Board
1. Laser Engraving
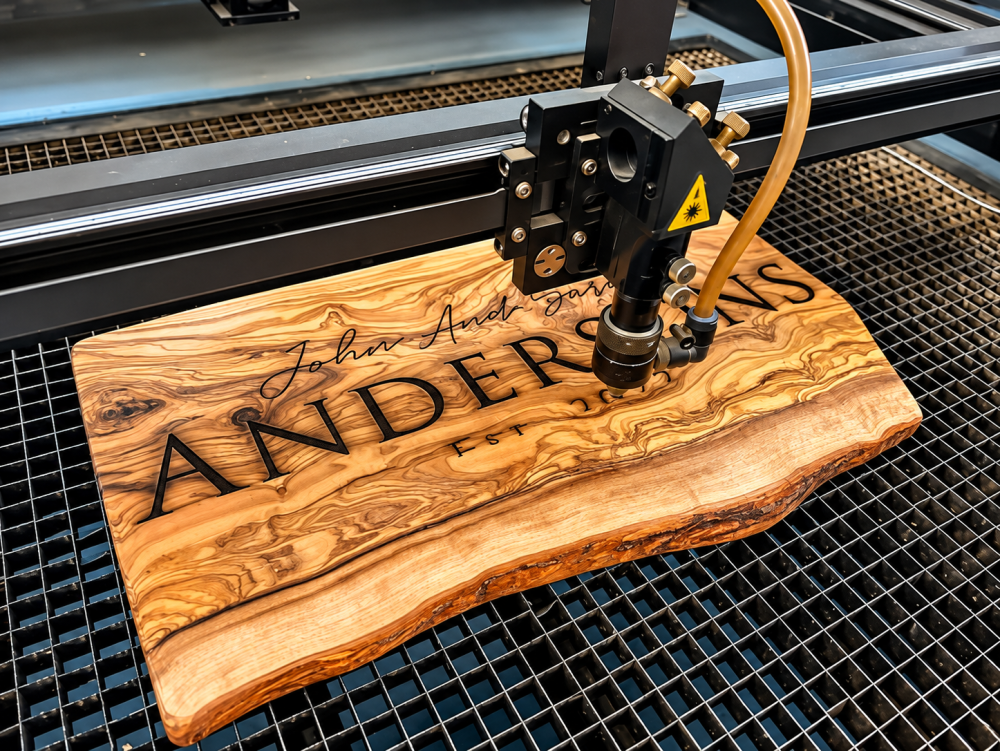
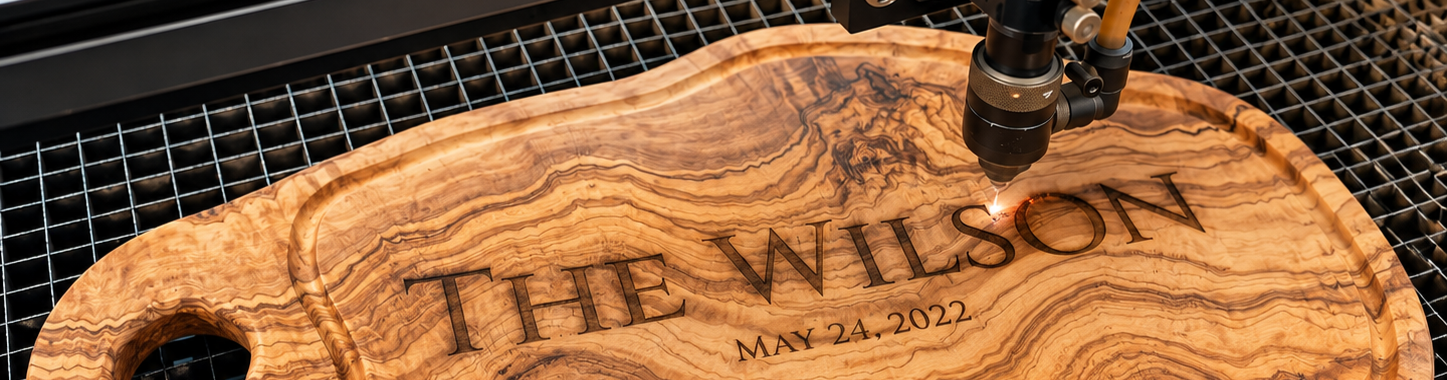
Laser engraving for cutting board, uses a focused beam of heat to create a permanent mark on the wood’s surface.
It’s particularly useful for detailed designs, logos, names, and repeat orders because the machine can reproduce the same design consistently. The final appearance will depend on the type of wood, its grain, density, and the laser settings.
Best for: detailed designs, logos, monograms, and corporate gifts.
2. Wood Burning
Wood burning, or pyrography, uses a heated tool to burn a design directly into the wood.
Unlike laser engraving, the process is done by hand, giving the finished piece a more handcrafted appearance. It’s a good option for simple lettering, illustrations, or projects where slight variations are part of the charm.
Best for: handmade gifts and simple designs.
3. Rotary Engraving
A rotary tool uses a small cutting bit to physically remove material from the surface of the wood. This method can create deeper, more dimensional designs, but it requires more control and practice than laser engraving.
Best for: dimensional lettering, decorative designs, and makers who want more control over engraving depth.
4. Hand Carving
Hand carving is the most traditional approach. Using carving tools, you physically cut the design into the board. It takes more time and skill, but the result can have a distinctly handmade quality that machine engraving can’t completely replicate.
Best for: one-of-a-kind pieces and traditional handcrafted designs.
Choosing the Right Wood for Engraving
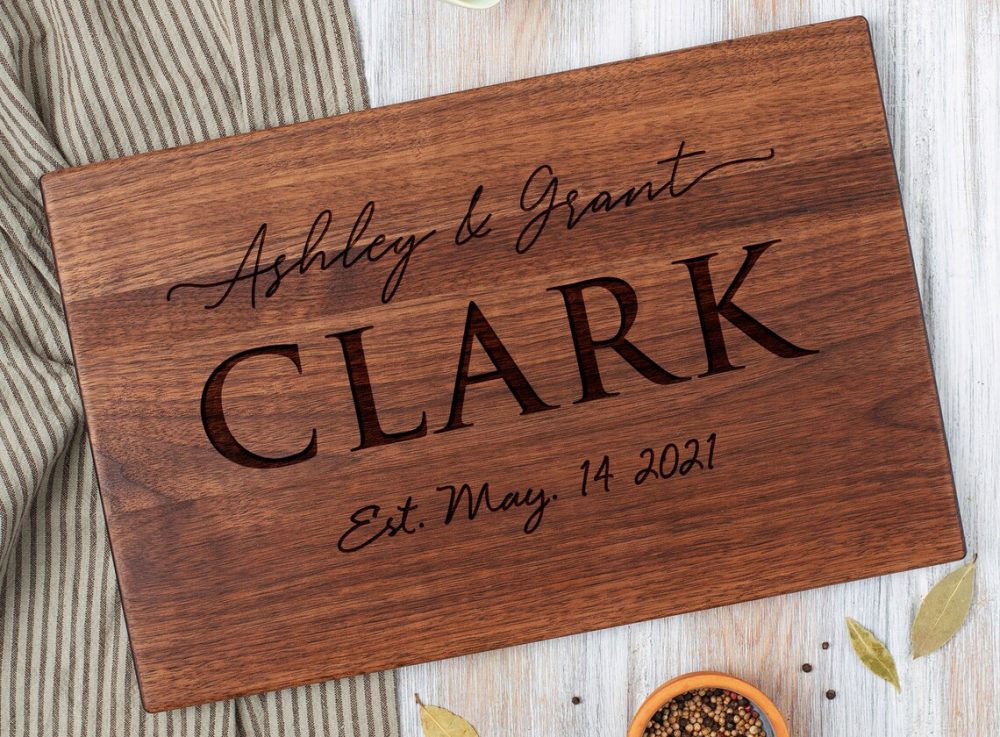
The same design can look completely different depending on the wood it’s engraved into.
Grain pattern, color, and density all affect how clearly an engraving appears. Here are some popular choices.
Maple
Maple wood has a relatively light color and subtle grain, making engraved designs easy to see. Its clean appearance works particularly well for logos, names, and detailed designs.
Best for: high-contrast engraving and detailed personalization.
Cherry
Cherry wood has a warm, reddish-brown tone that becomes deeper with age. Its smooth appearance works well with elegant, understated designs, making it a popular choice for wedding and housewarming gifts.
Best for: monograms, names, dates, and elegant designs.
Walnut
Walnut has a naturally dark, rich appearance. Because the wood itself is darker, engraving can appear more subtle than it does on lighter woods. That understated look can work particularly well for premium corporate gifts and minimalist designs.
Best for: logos, corporate gifts, and minimalist personalization.
Bamboo
Bamboo is commonly used for cutting boards and can be engraved, but it’s structurally different from traditional hardwoods. Because bamboo products can vary in construction and composition, it’s a good idea to test the material before engraving a large batch.
Best for: simple names, lettering, and straightforward designs.
How to Engrave a Cutting Board With a Laser
If you’re looking for a precise and repeatable method, laser engraving is one of the most practical options.
Here’s a basic process.
1. Choose Your Design
Start with a high-quality digital design.
You might engrave:
- A name
- Family name
- Monogram
- Wedding date
- Business logo
- Short quote
- Recipe
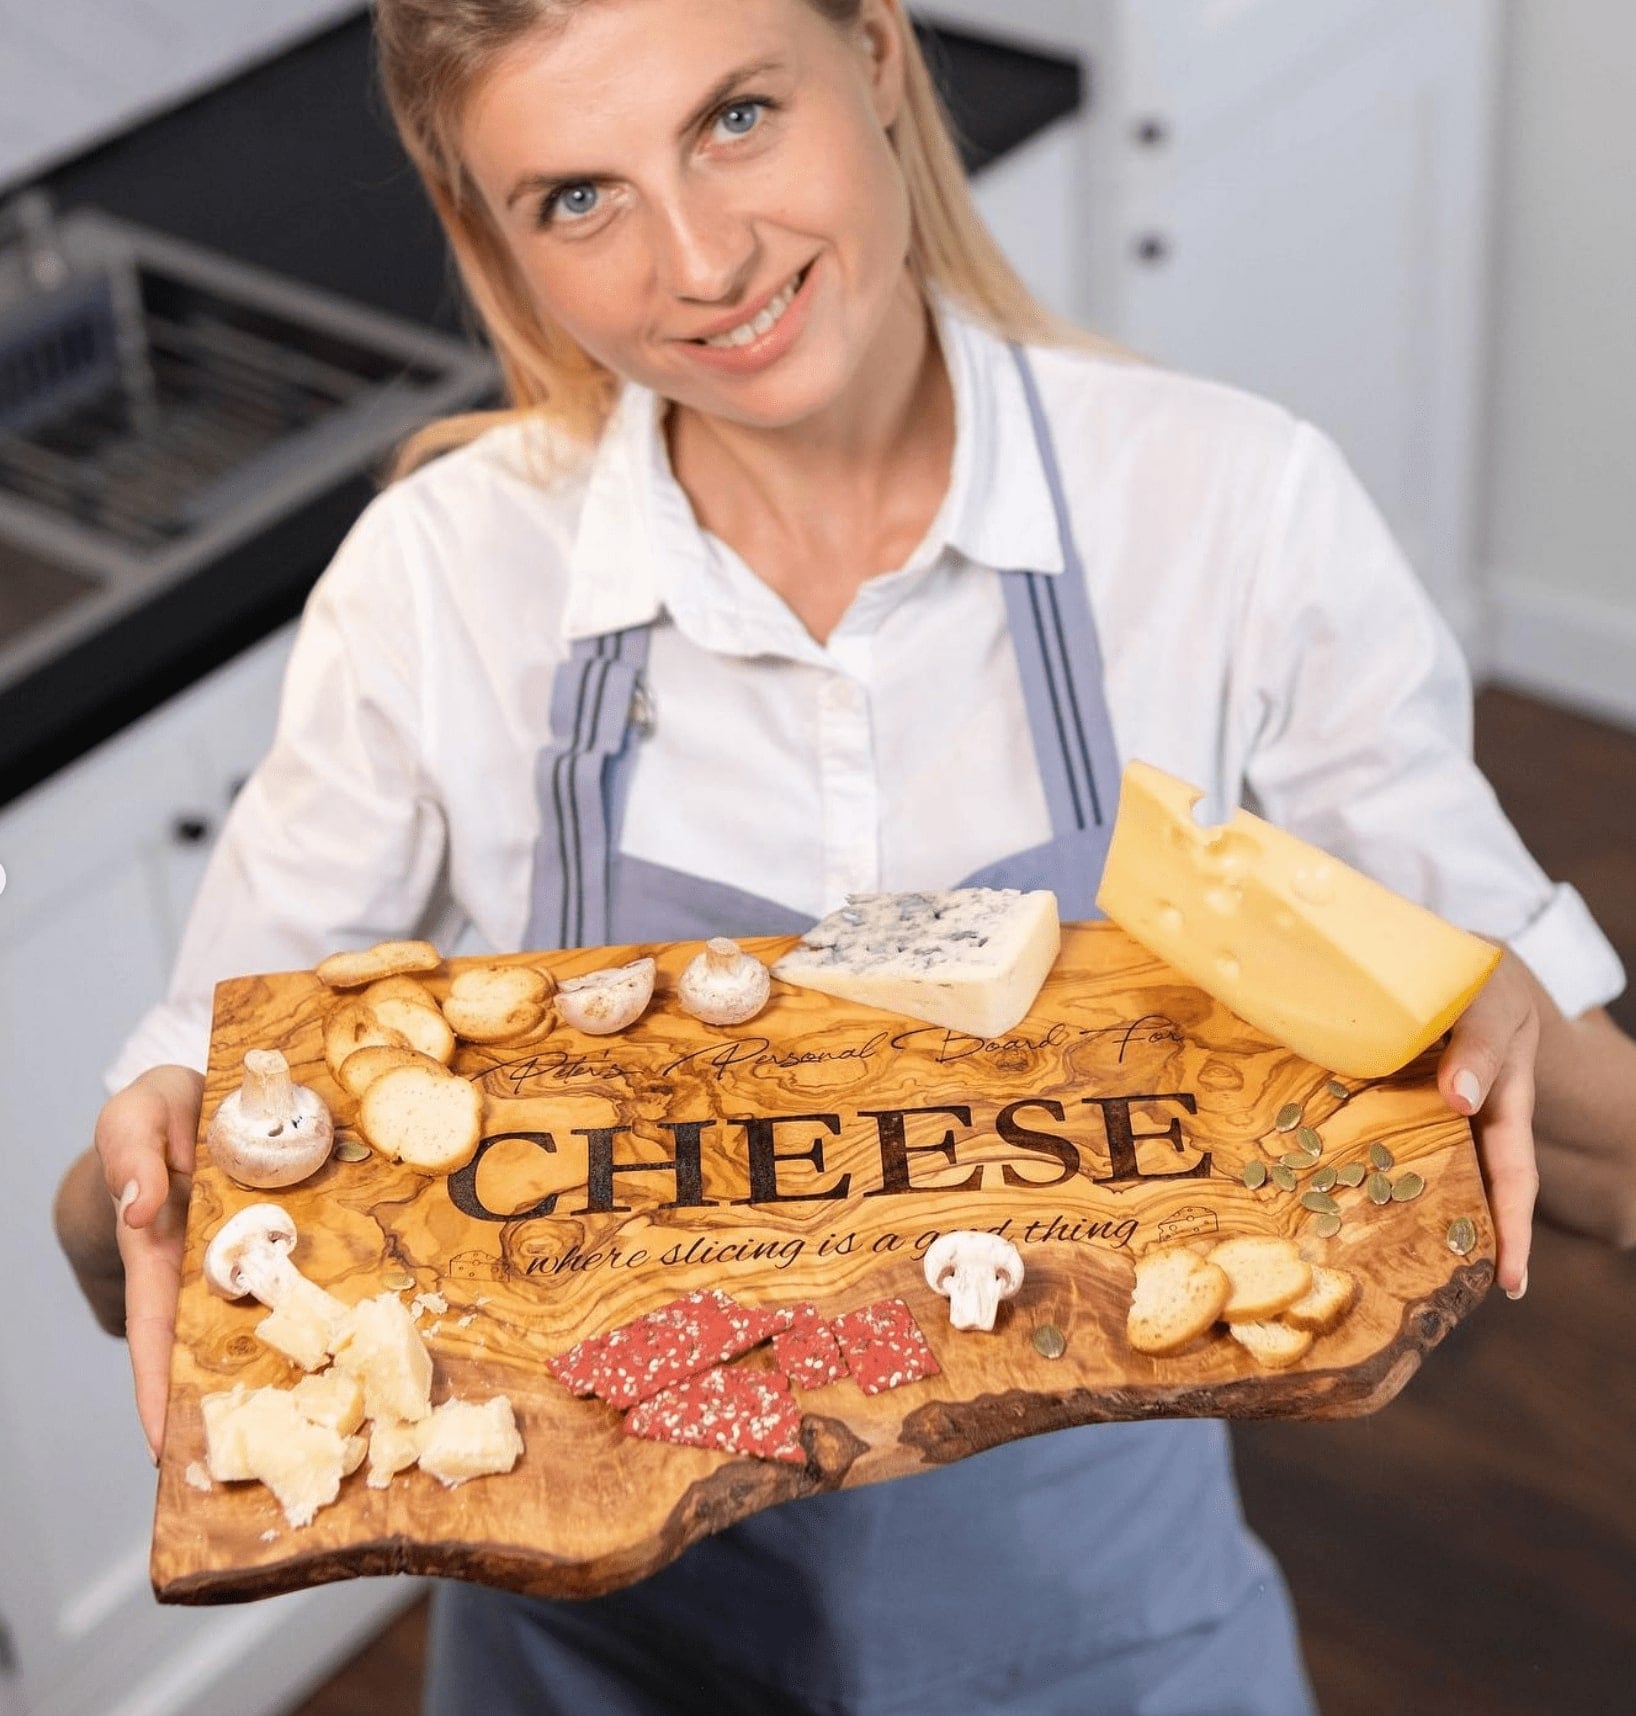
- Simple illustration
Consider the size of the board before finalizing the design. A design that looks good on screen may become difficult to read when reduced.
2. Prepare the Board
Make sure the cutting board is clean, dry, and free from dust or debris. The surface should be smooth enough to provide a consistent engraving area.
If you’re working with an unfamiliar wood species, test your settings on a scrap piece of the same material first.
3. Position Your Design
Think about how the board will be used. A centered design can work beautifully on a decorative serving board. For an everyday cutting board, you may want to keep the personalization toward one area so the board remains practical for food preparation.
4. Test Your Settings
There isn’t one universal laser setting for every cutting board. Different woods respond differently to heat, and the result can vary depending on the laser itself.
Test the power and speed settings before engraving the final piece. Look for the right balance between visibility and engraving depth.
5. Engrave
Once you’re happy with the design and settings, run the engraving. Keep an eye on the process, particularly when working with a new material or unfamiliar settings.
6. Clean the Board
After engraving, remove dust and loose residue from the surface.
A clean finish will make the engraved design easier to see and prepare the board for its final treatment.
How to Get a Better Engraving
The engraving method matters, but the design itself can make or break the final result.
Keep lines readable
Very thin lines can disappear into the natural grain of the wood.
If you’re working with a detailed logo or illustration, simplify unnecessary details before engraving.
Choose the right font
For text, choose fonts that remain readable at the actual size of the engraving.
Simple serif, sans-serif, or moderately weighted script fonts are generally easier to reproduce than extremely delicate lettering.
Consider font size
Don’t judge the design only from your computer screen.
Print or preview it at its actual size before engraving. Small text can become difficult to read once transferred to the board.
Think about placement
Give the design enough breathing room.
A small logo surrounded by natural wood can look more polished than a design that fills every available space.
Work with the grain
Wood grain is part of the character of a cutting board.
Instead of treating natural variation as a flaw, consider how the grain will interact with your design.
This is especially important with woods such as walnut and olive, where every piece can have a noticeably different appearance.
How Deep Should a Cutting Board Engraving Be?
An engraving doesn’t need to be extremely deep to be visible or meaningful.
The ideal depth depends on the engraving method, wood species, design, and intended use.
For laser engraving, the goal is generally to create a clear, consistent mark without unnecessarily removing material from the board.
Because different woods react differently to heat, testing is important, especially when working on a large order or a new type of wood.
Is an Engraved Cutting Board Food Safe?
An engraved wooden cutting board can be used for food preparation, but the wood, finish, engraving, and maintenance all matter.
If the board will come into contact with food, use finishes appropriate for food-contact woodenware. Avoid paints, coatings, or other substances that aren’t intended for food-contact surfaces.
The depth of the engraving also matters. Extremely deep grooves can make cleaning more difficult because food particles can collect in them.
For boards used primarily as decorative or serving pieces, the considerations may be different from those for a board used for everyday chopping.
When in doubt, follow the care and finishing recommendations for the specific board and material.
How to Finish and Care for an Engraved Cutting Board
Once your board is engraved, proper care helps preserve both the wood and the personalization.
Use an appropriate food-safe oil
Wooden cutting boards can dry out over time. An appropriate food-safe board oil can help condition the wood and maintain its appearance.
Some care routines also use a food-safe wax or board butter.
Hand wash when recommended
Wooden cutting boards generally benefit from gentle hand washing rather than repeated dishwasher cycles.
High heat and prolonged moisture exposure can contribute to warping, cracking, or drying.
Don’t soak the board
Wash and rinse the board, then allow it to dry properly. Avoid leaving it submerged in water.
Avoid extreme heat
Don’t place a wooden cutting board next to a hot stove or other strong heat source for extended periods.
Re-oil when needed
There’s no universal schedule for oiling. Instead, pay attention to the wood. If the surface begins looking particularly dry or dull, it may be time to condition it again.
Laser Engraving vs. Wood Burning vs. Hand Carving
| Method | Best For | Precision | Learning Curve |
| Laser engraving | Logos, names, detailed designs | High | Medium |
| Wood burning | Handmade designs and lettering | Medium | Medium |
| Rotary engraving | Deeper, dimensional designs | Medium–High | High |
| Hand carving | Traditional handcrafted pieces | Depends on skill | High |
There’s no single best method for every project.
For a large corporate order where every board needs to look consistent, laser engraving may make the most sense. For a one-of-a-kind wedding or family keepsake, the handmade character of wood burning or carving may be exactly what you’re looking for.
Quick answers about engraving a cutting board