


5 Min Reading
The beauty of DIY projects and crafts is the vast array of supplies and materials you can use. In this article, the focus will be on how to make wood and resin coasters. If you have never worked with the items before, the first one is among the excellent epoxy resin wood projects for beginners.
Wood Slices Coasters
These wood and resin coasters are gorgeous and easy to make. Materials needed include
- Blue and green acrylic paints
- Silver glitter
- Two-part resin mixture
- Two wood slices
- Two plastic cups
- Wood popsicle sticks
Step 1: Preparing the Resin Mixture
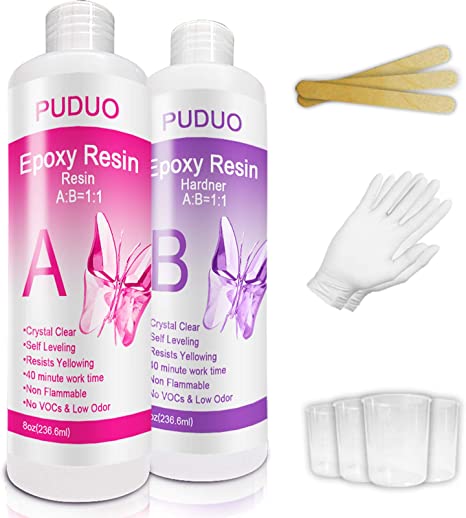
An epoxy resin kit is available from Amazon. It contains both a bottle of epoxy resin and hardener. This kit also comes with four plastic measuring cups, three popsicle sticks, and a pair of rubber gloves.

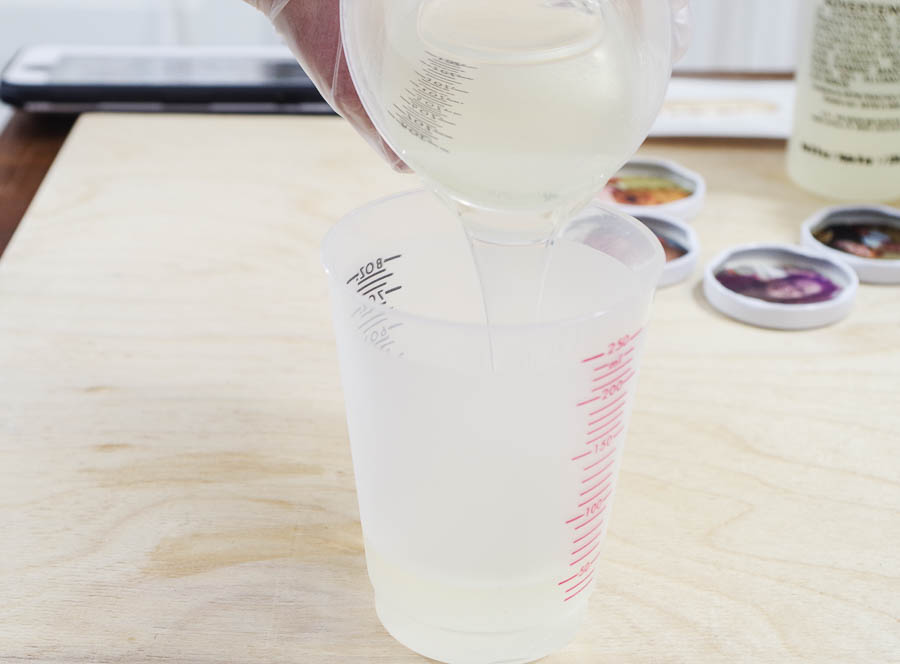
Pour one measure of resin into a plastic cup, then pour one measure of hardener on top of it. This is a classic two-part mixture used in many crafts and DIY projects. Use a popsicle stick to ensure all the resin gets into the cup.
It is essential that the doses are precise to ensure the consistency is correct and the resin hardens properly. Just as before, pour in the same amount of hardener. Use the popsicle stick to get it all into the cup. Use the stick to stir the two substances.
Step 2: Dividing the Mixture
Pour half of the mixture into the other cup. Make the portions as even as possible.
Step 3: Adding Color
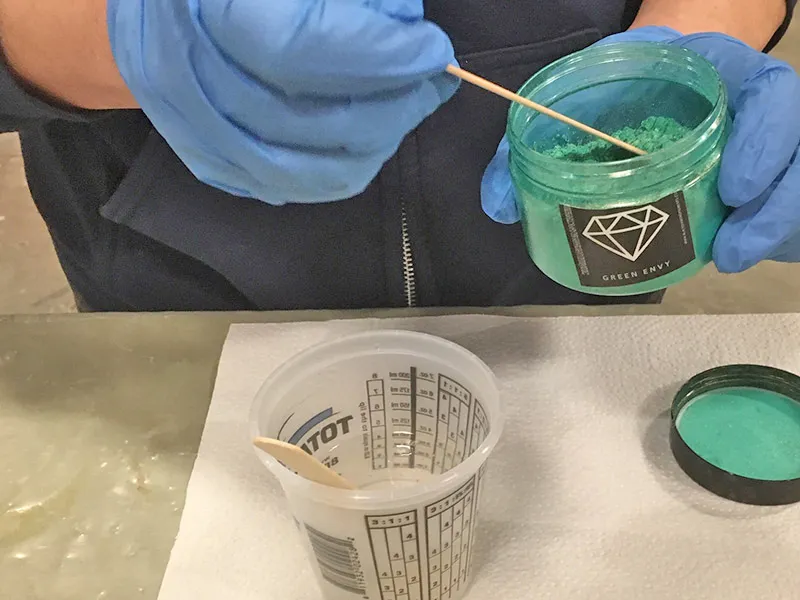
With the tip of a popsicle stick, mix a little green acrylic paint in one of the cups. Mix it well, so the color of the mixture is consistent. Repeat with blue paint in the other cup.
Step 4: Add Glitter
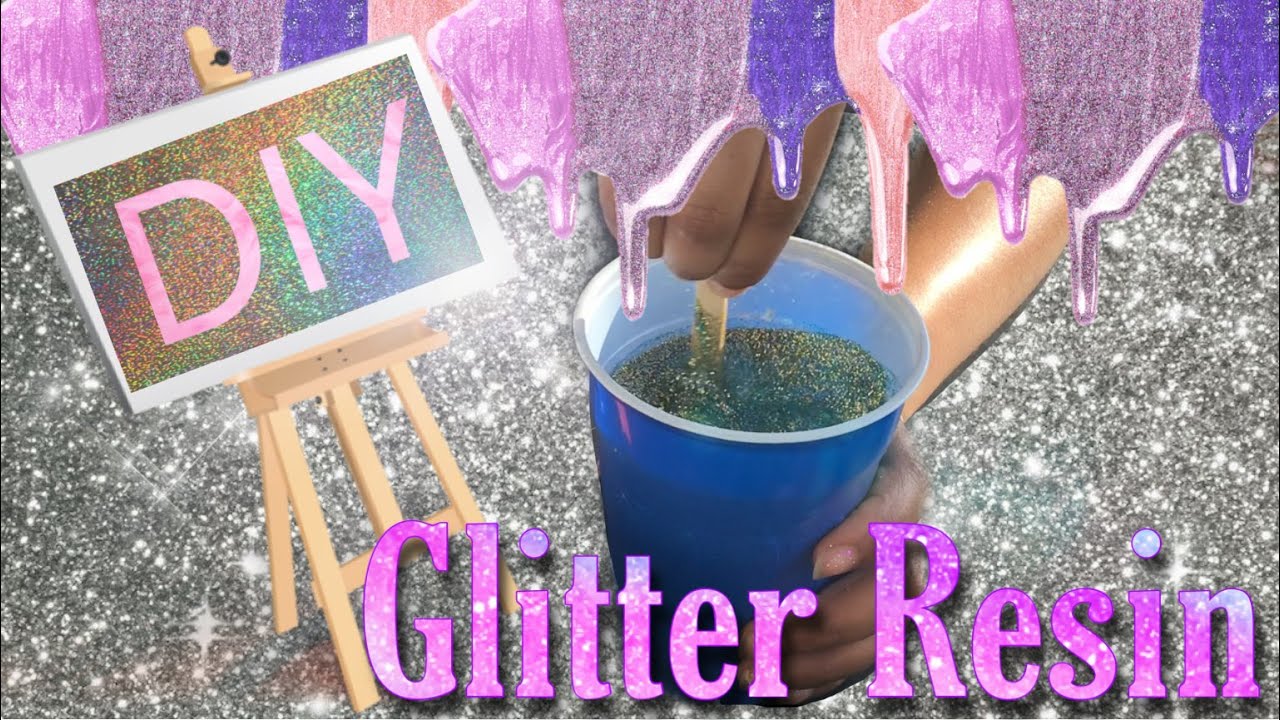
In one of the cups, add some glitter. Mix it with the stick to distribute the glitter evenly.
Step 5: Pour colored resin on the wood slices.
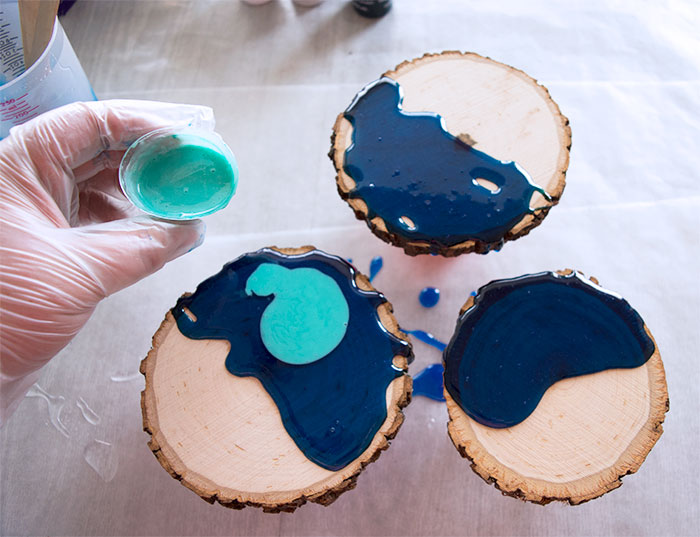
To avoid a mess, place the slices with the flat surface facing upward, preferably on a paper plate or newspaper. Pour the colored resin on the wood slices and mix with a popsicle stick. You can play with the colors by adding more of one color or the other to achieve a color and pattern that is more visible and brings the design to life.
Step 6: Allow the resin to dry.
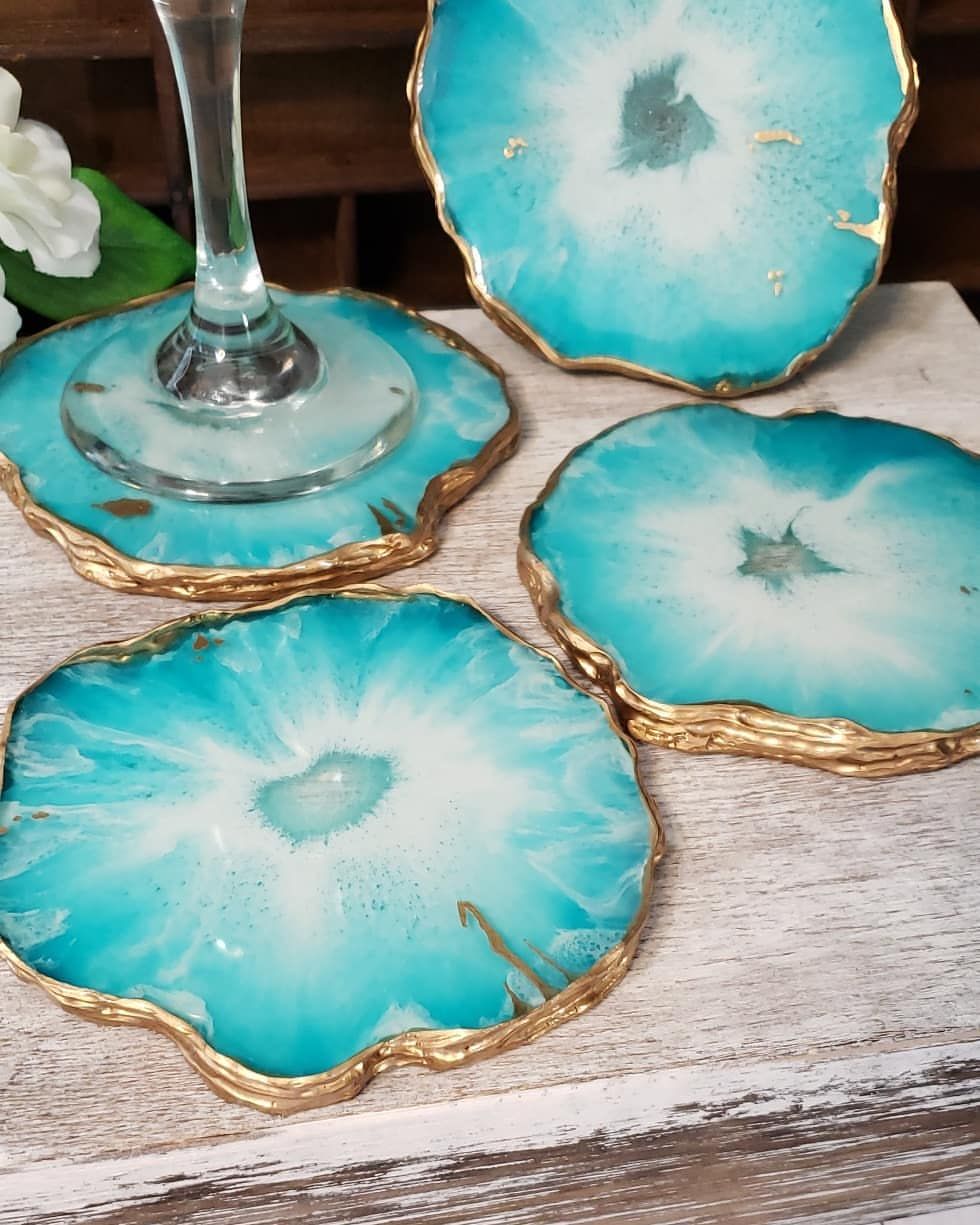
When you are pleased with the design, set the slices aside so the resin can harden. Repeat the process and try new colors, designs, and patterns.
Square Wood and Resin Coasters
This is one of the more advanced DIY wood and resin projects. If you have small off cuts of wood available, you can use them to make these wood and resin coasters.
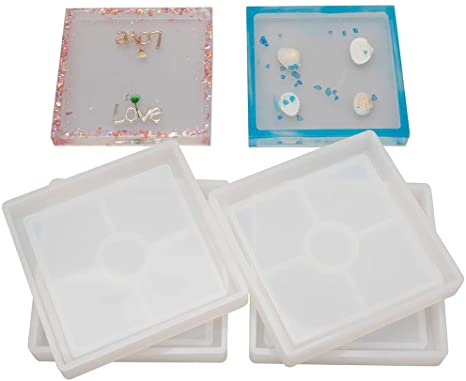
Amazon has some silicone coaster molds. They have grooves that stop any moisture from spilling out of the molds.
Preparation
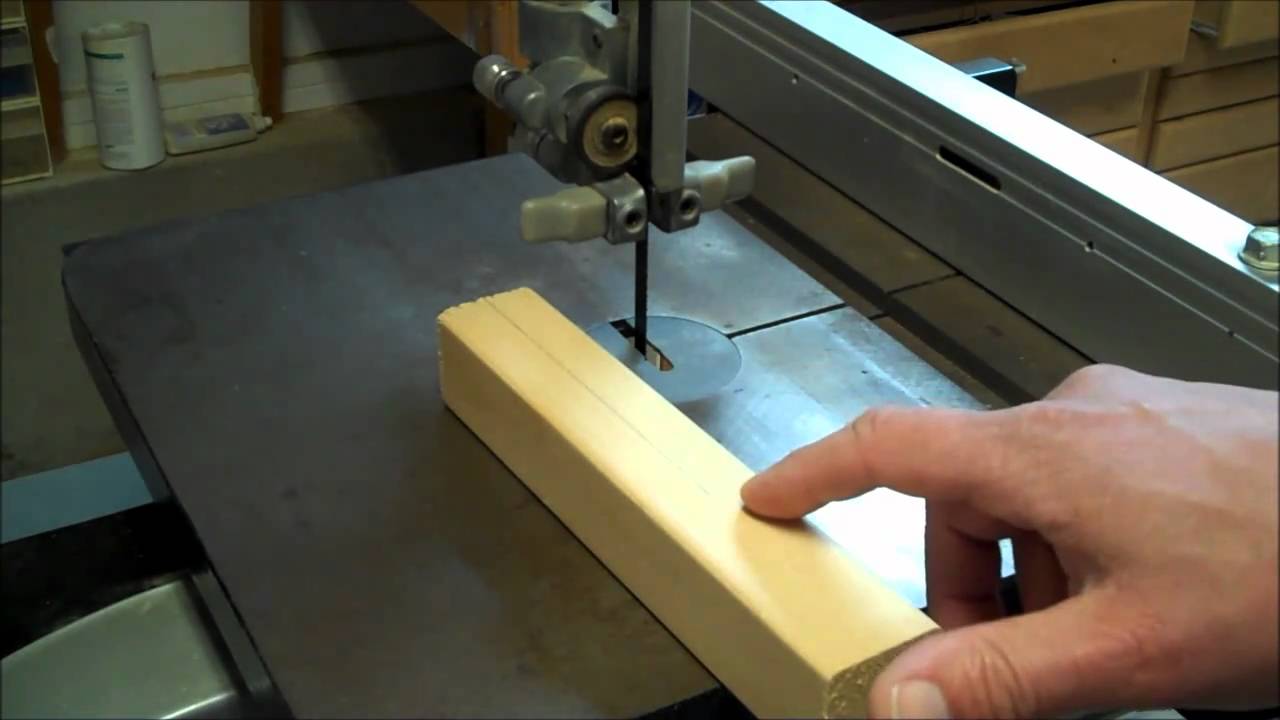
Measure the depth of the coaster molds and use the measurement for a band saw setting slightly thicker than the mold depth. The reason for the extra thickness is to be able to remove the clamps after the resin is poured into the mold. Do not worry about cutting them precisely because they will be trimmed and sanded later.
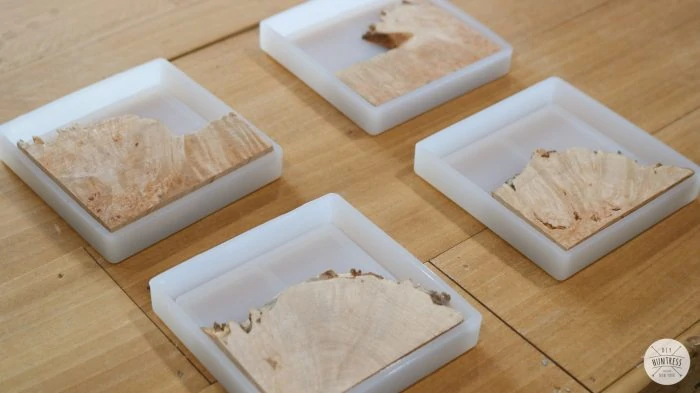
When using scrap pieces of wood, each piece is entirely different. Rough fit the pieces into the mold by gently placing them inside the coaster mold, marking where they need to be trimmed, and using a miter saw to cut.
Place the pieces back into the mold. Repeat the steps for each mold. You can experiment with woodcuts and perhaps place two pieces of wood in a mold.
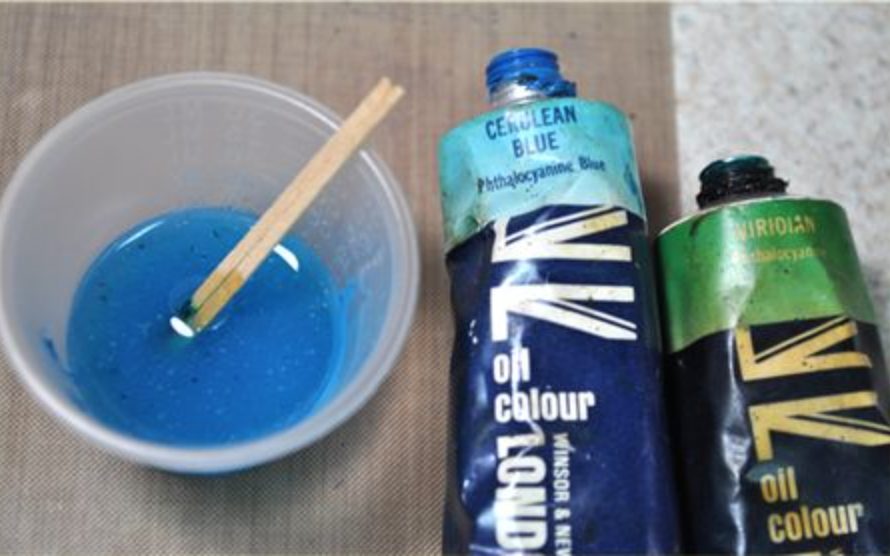
Prepare the epoxy resin according to directions. A deep pour epoxy resin works well with DIY wood and resin projects but is a bit expensive. You can add color with alcohol ink.

There are a couple of things that you should do to prep before pouring the resin. Clean out or vacuum the molds; use a sealer on the wood to prevent bubbles that can form in the resin.
Use wood clamps to hold the pieces in place before pouring the epoxy resin. Put a bead around the clamps to keep them from getting stuck to the resin. If this last step is omitted, the pieces can be sanded when the clamps are removed.

Pouring the Resin
Pour the resin into the mold. Let the coasters set for 24 to 48 hours to cure. If you did not use a sealer on the wood, remove the clamps when the resin is gummy, or the clamps will be permanently attached.
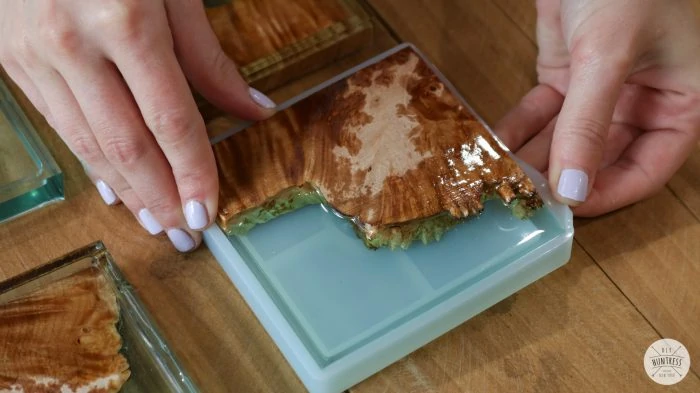
When the resin is hard, remove the coasters by peeling away the silicon and popping the coasters away from the mold.
Sanding
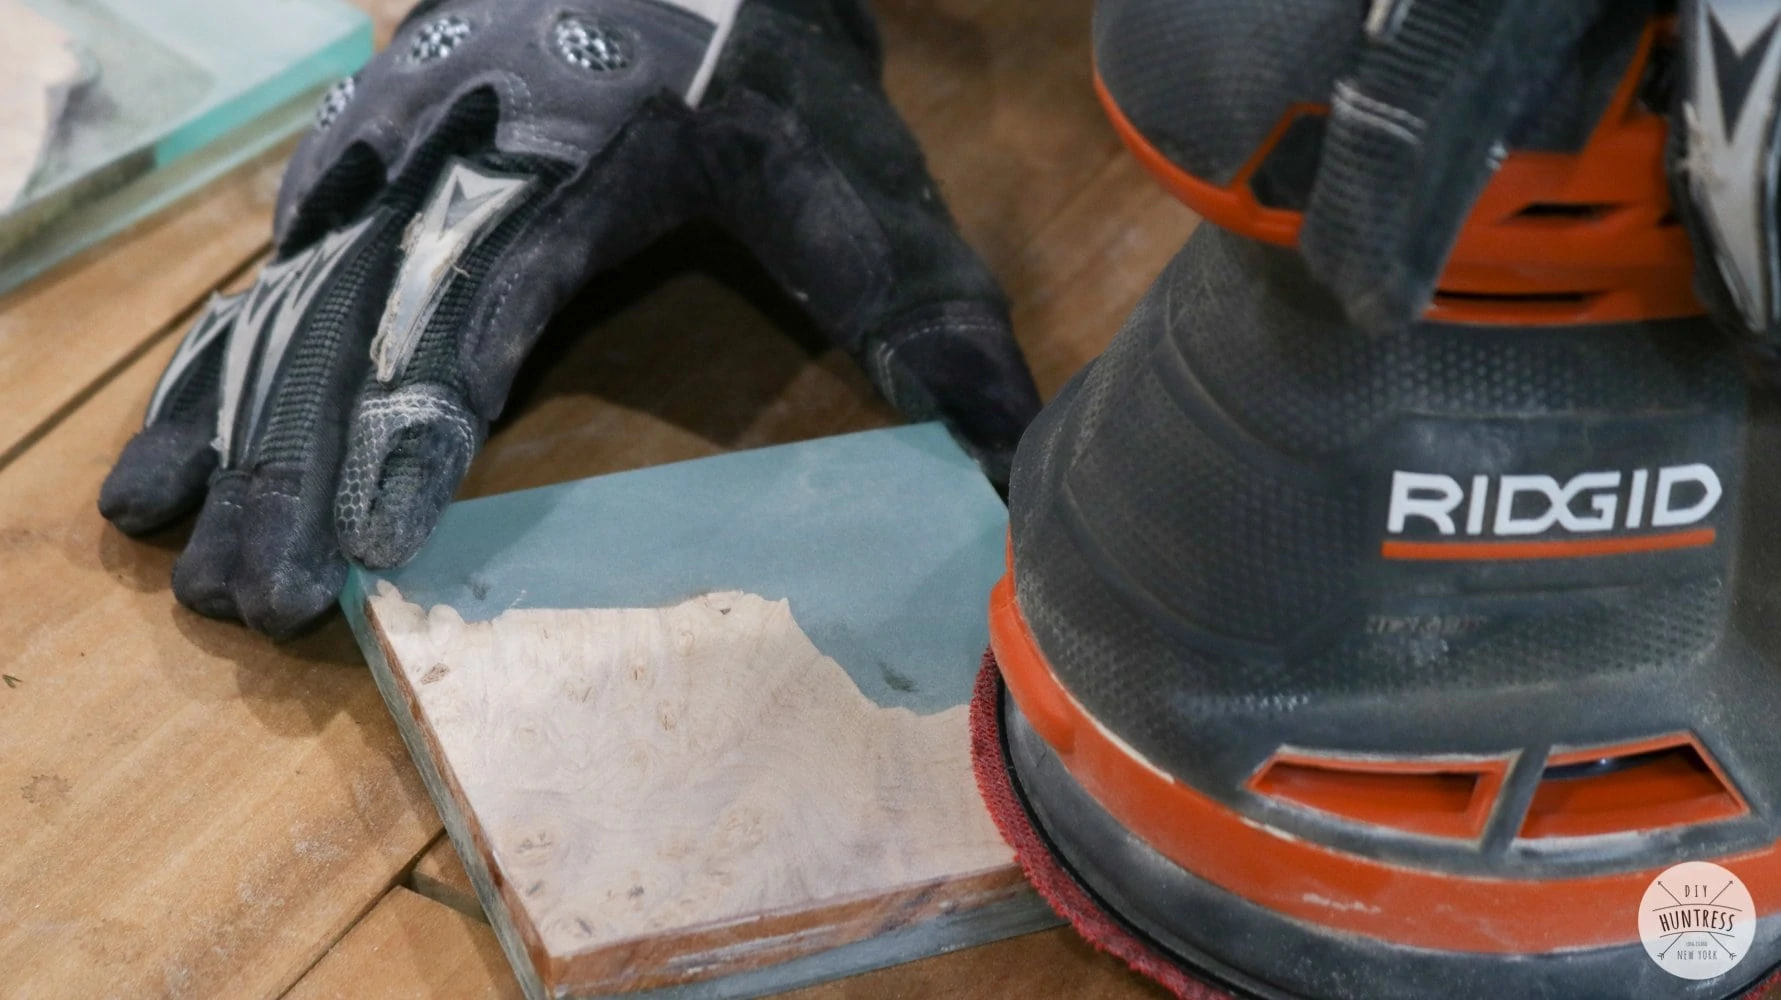
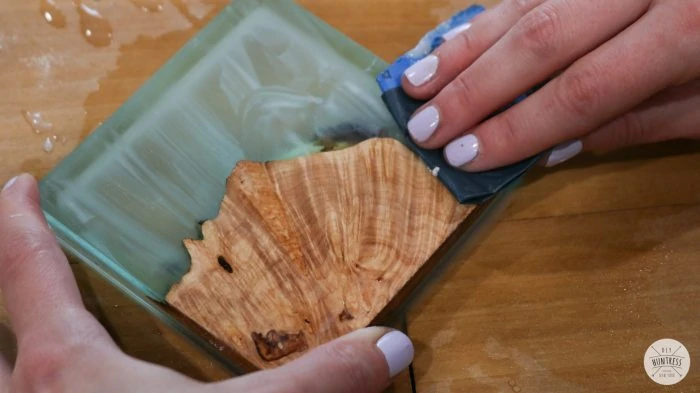
A laborious sanding process is required after removing the coasters from the molds. The wood that extends above the resin must be sanded with 80-grit sandpaper to make the wood flush with the coaster. Continue to sand with 320-grit sandpaper on the front, back, and sides.
Then, wet sand the epoxy by adding some water to the pieces and using 600-grit waterproof sandpaper. The wet sanding takes cloudiness out of the epoxy resin caused by the aggressive use of sandpaper and limits the amount of dust.
Finishing Touches
Use a penetrating oil base on the coasters. After about 15 minutes, remove excess oil and add a second coat. Do this to both the front and back of the coasters to seal them completely. When they dry, they are ready for use. The illustrations above are associated with a YouTube video that provides more detailed instructions.
The Alternative
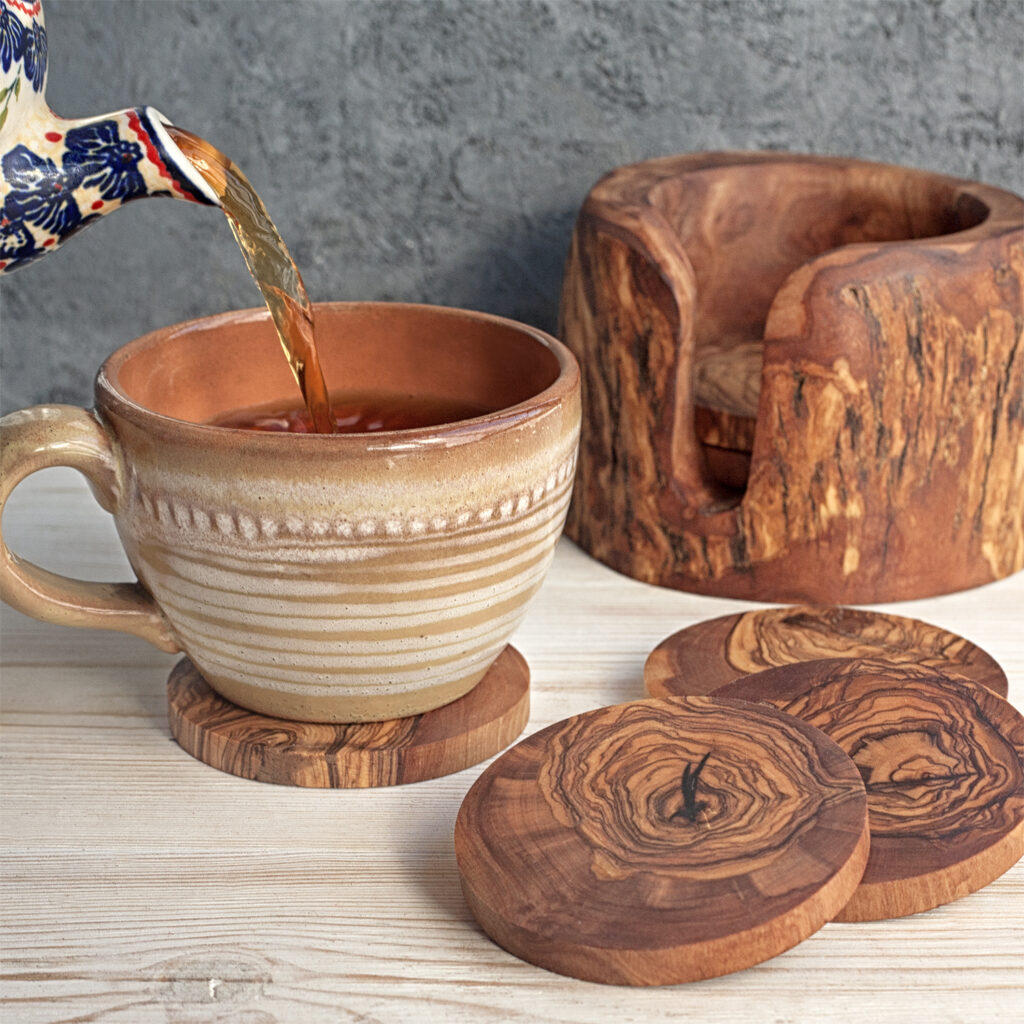
For those who have neither beginner nor advanced wood coaster DIY skills, Forest Decor has both round and square sets of wooden coasters. The wooden collection featured here comes with a log holder. The company will engrave coasters that are perfect for gift-giving or entertaining.