
4 Min Reading
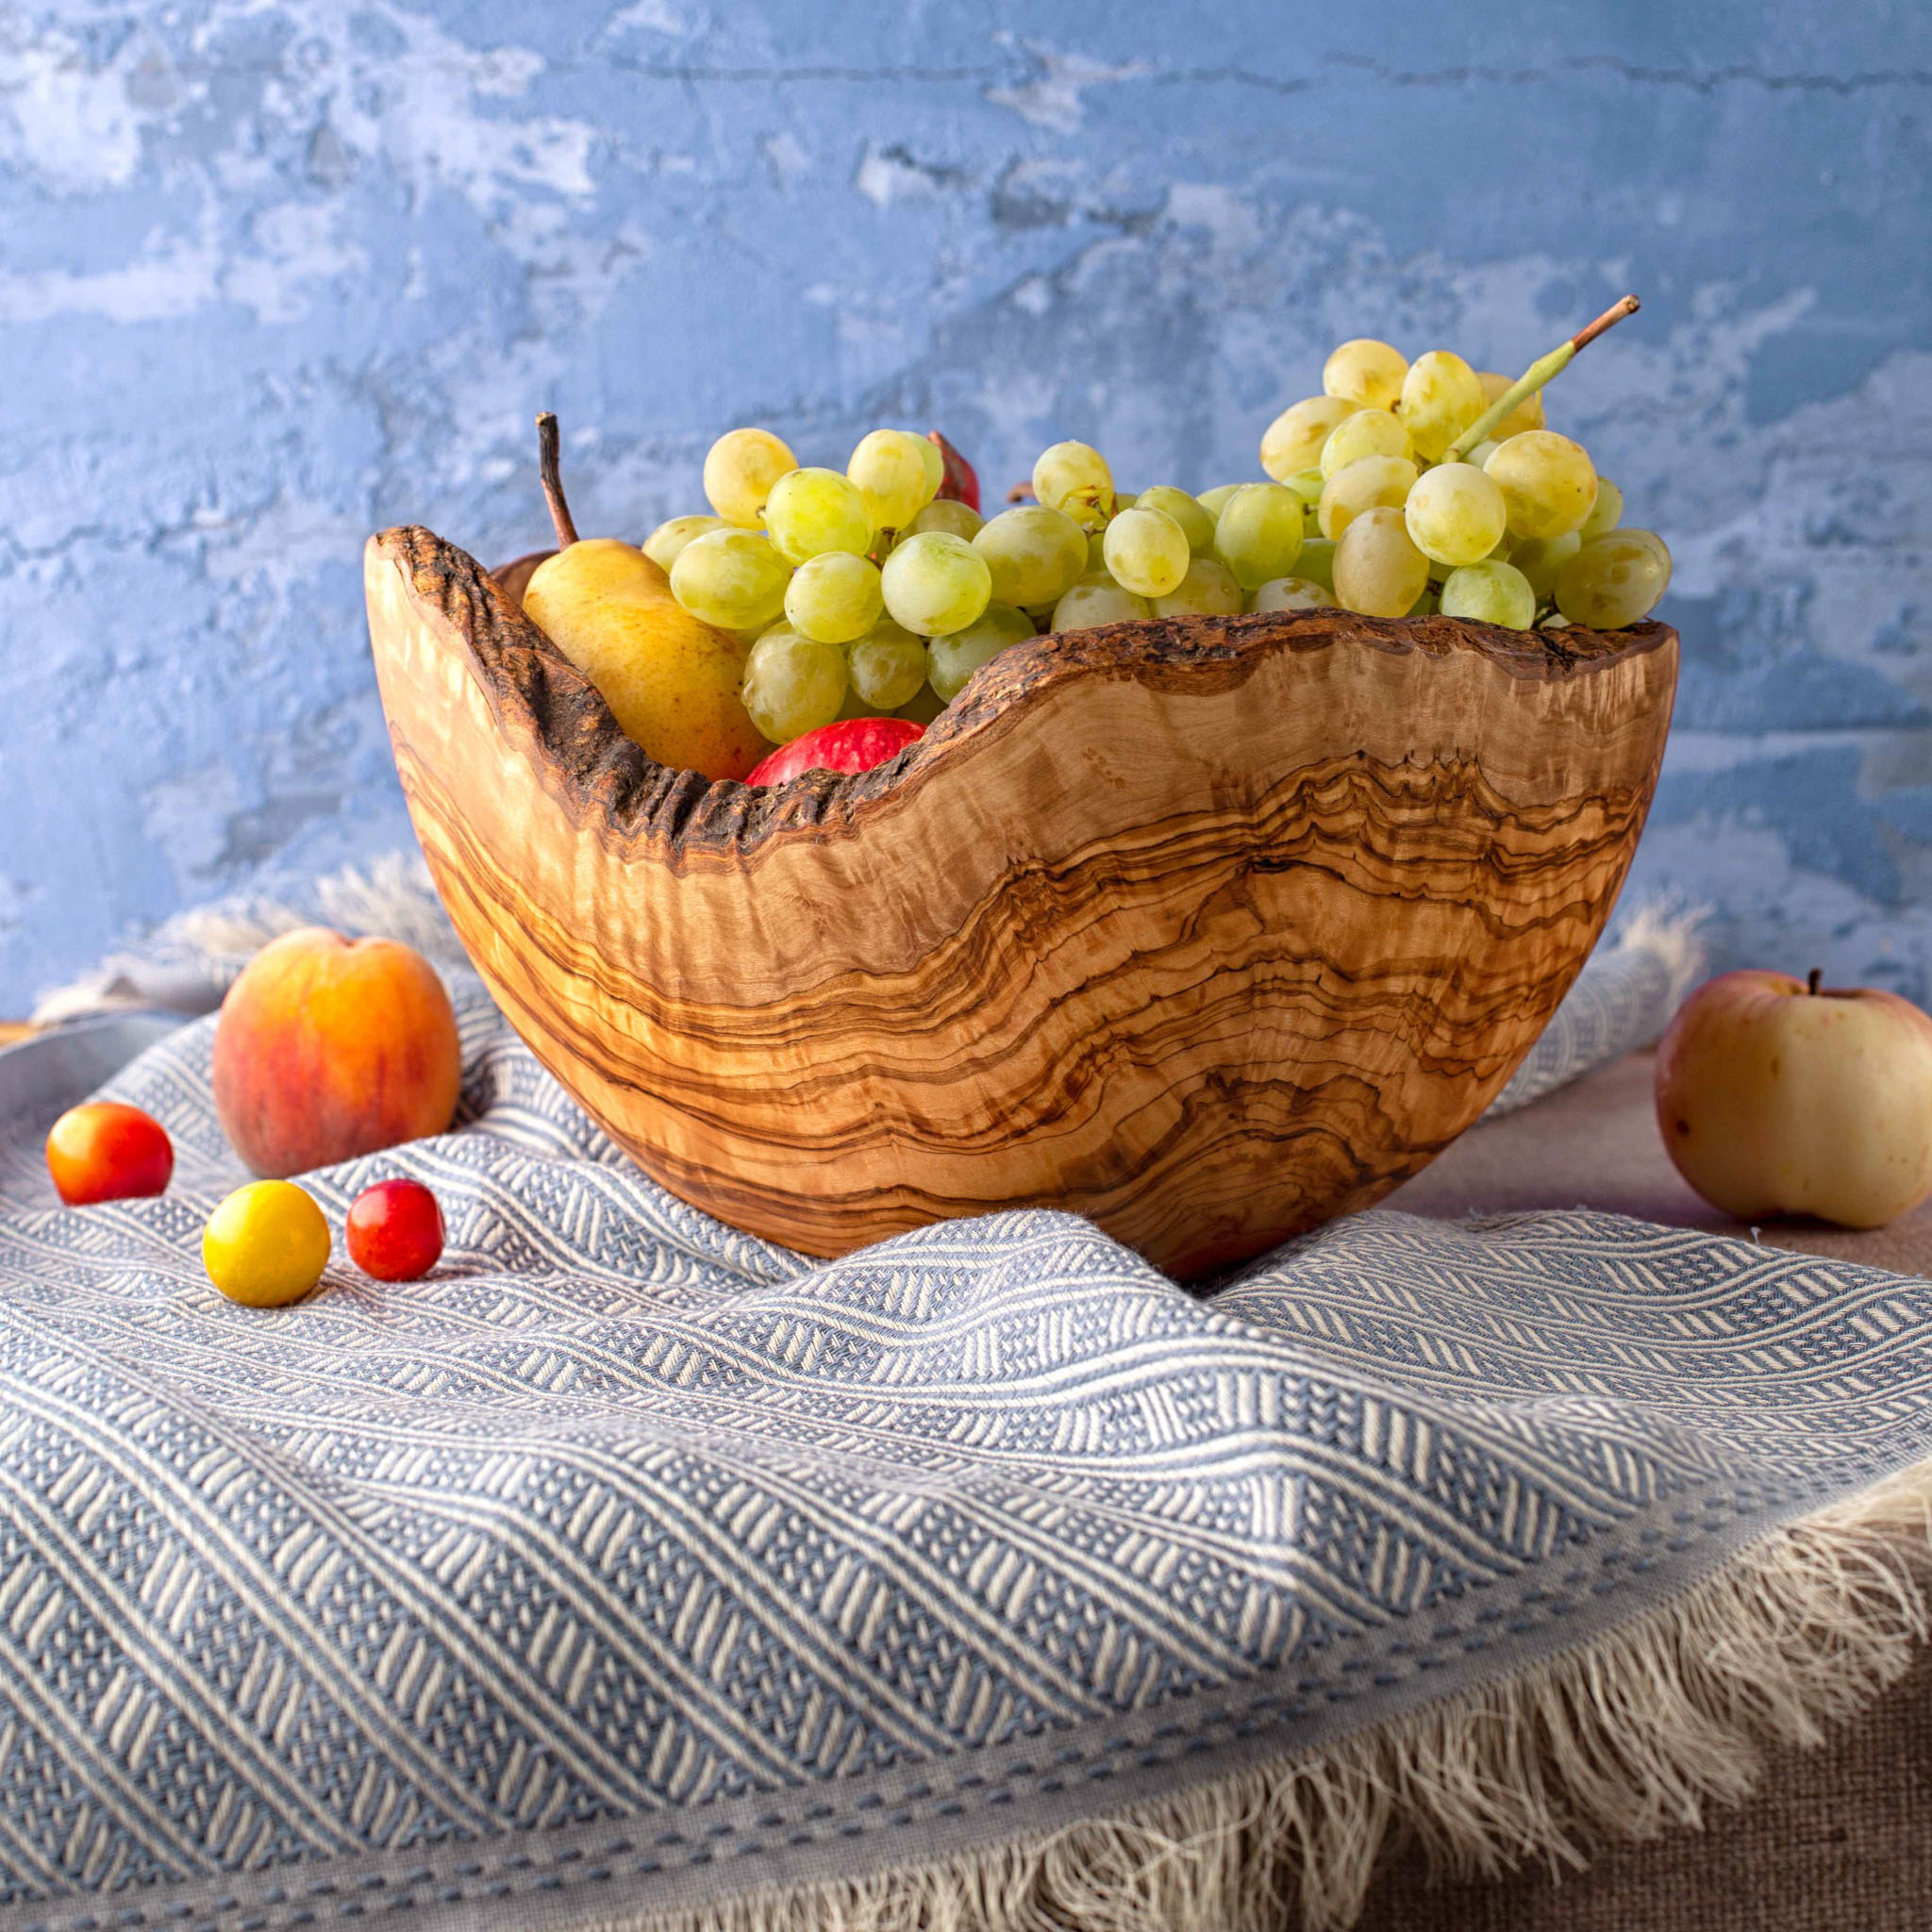
Since ancient times, wooden bowls have been used for a variety of tasks, including keeping household objects and serving food. Making a wooden bowl is a rewarding and pleasurable process that calls for patience and close attention to detail. This article will walk you through the process of building a wooden bowl, including the selection of the appropriate wood, design, preparation, shape, and finishing.
Step 1: Choosing the Right Wood
Selecting the proper wood is the first step in creating a wooden bowl. There are numerous varieties of wood that can be used, but it’s crucial to pick one that can be turned on a lathe and is also safe for eating. Wooden bowls are frequently crafted from the following popular types of wood:
- Maple: Because of its toughness and exquisite grain patterns, maple is one of the most popular hardwoods used to make bowls.
- Cherry: This wood is a popular for bowls due to its warm color and tight grain patterns.
- Walnut: Walnut is a popular wood because of its distinctive grain patterns and lovely dark color.
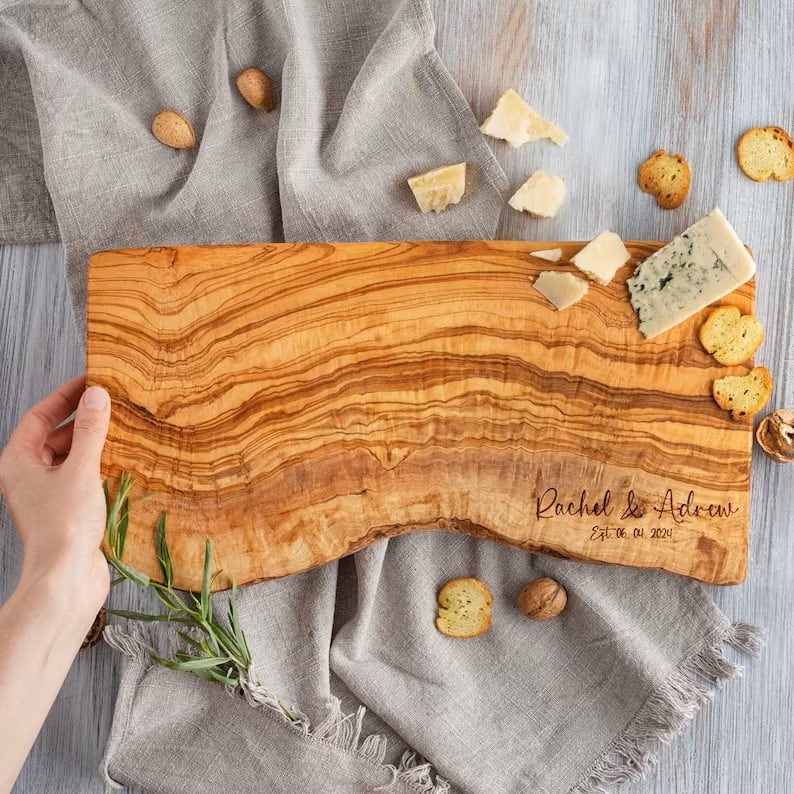
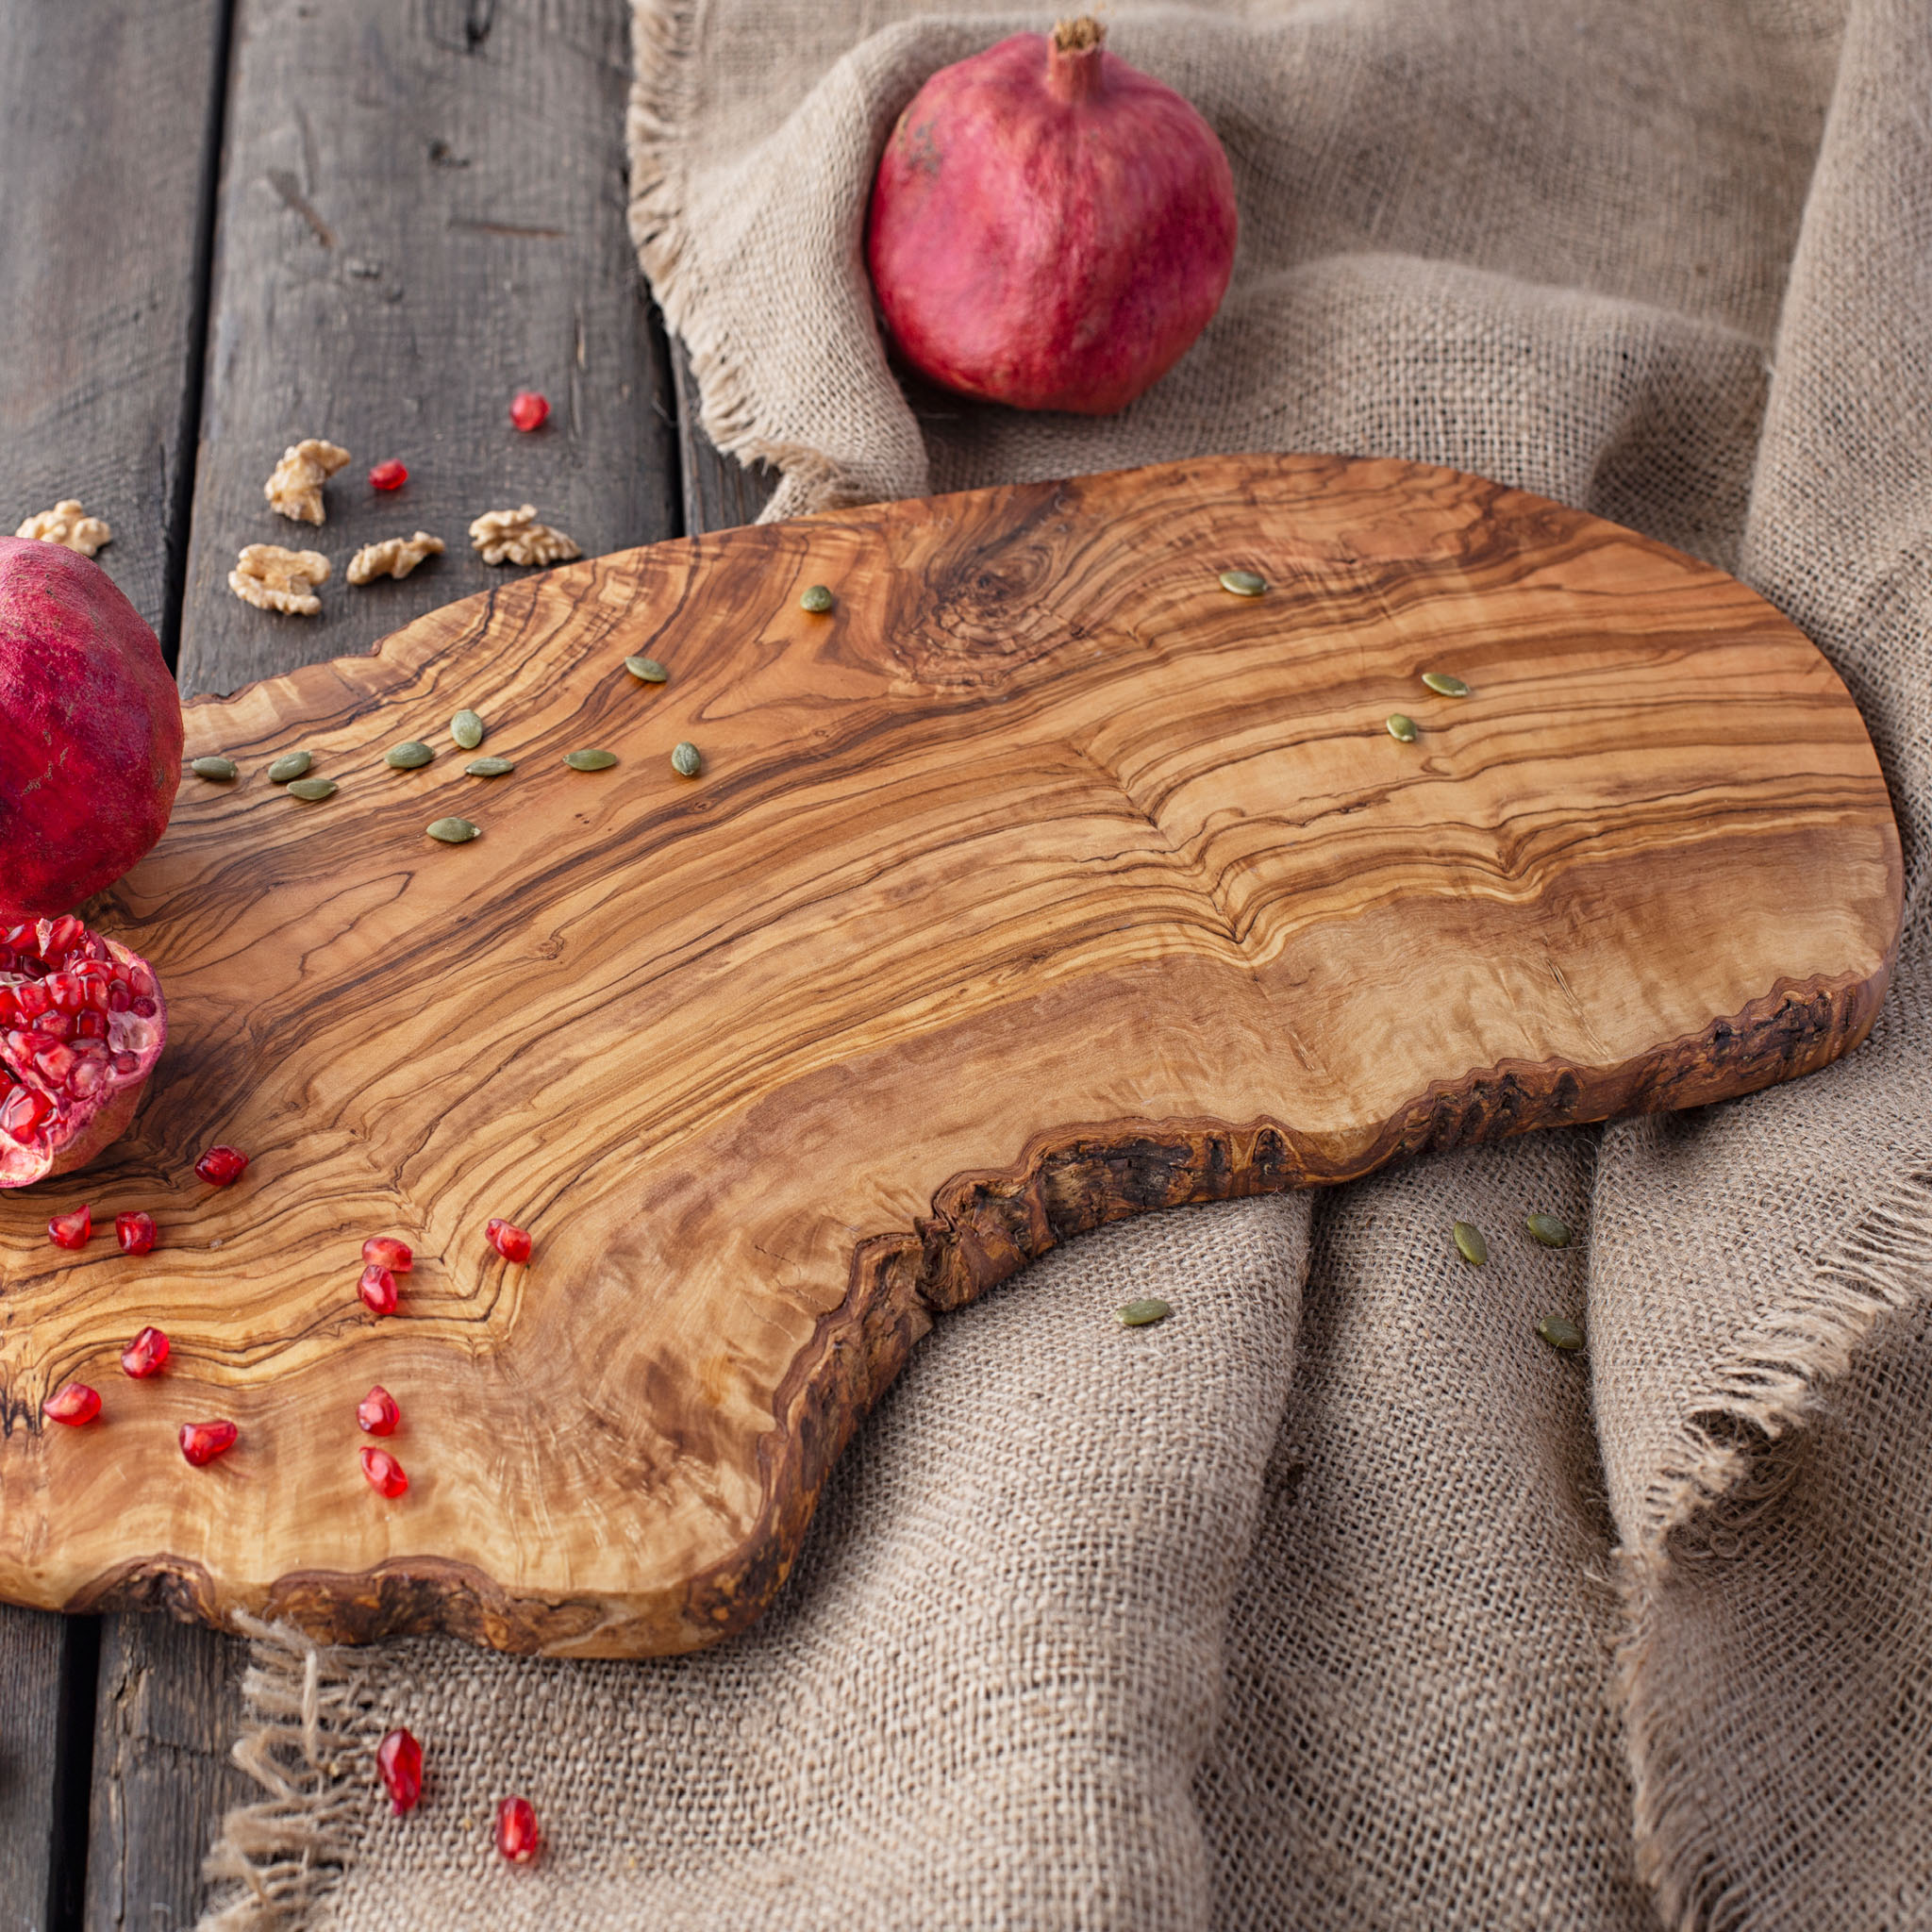
- Oak: This robust and long-lasting wood is perfect for crafting huge bowls and is frequently used to serve bread.
- Beech: This wood is preferred for smaller bowls because of its light hue and straight grain pattern.
Step 2: Designing the Bowl
Designing the bowl is the next phase. In order to do this, the bowl’s shape, size, and thickness must be chosen. The bowl’s design will be determined by how it will be used. A fruit bowl might, for instance, have a larger base and a narrower top, whereas a snack dish might have a more uniform shape. The weight and stability of the bowl will depend on the bowl’s thickness, which is also crucial.
Step 3: Preparing the Wood
The next step is to prepare the wood after selecting the wood and creating the bowl. This entails roughing out the blank—the piece of wood that will be transformed into the bowl—from the wood. The rough blank should be sized and shaped after taking the final bowl design into account.
Step 4: Shaping the Bowl
The portion of the process that takes the longest is molding the bowl. On the lathe, the rough blank is installed before being turned into the desired shape. The bowl is shaped and carved using a variety of tools after the wood has been turned on a lathe. The bowl is shaped by making a series of cuts and modifications to get the required shape.
Step 5: Finishing the Bowl
The bowl must be finished as the last step. To do this, sand the bowl to get rid of any imperfections or rough places. The bowl is smoothed out by employing successively finer grits of sandpaper. To protect the wood and bring out its natural beauty, the bowl can be coated with a food-safe oil, such as mineral oil, after sanding.
Materials Used in Making Wooden Bowls
The following materials are necessary for making a wooden bowl:
- Wood: The sort of wood used is significant for the outcome, as was mentioned in the previous section. Choose a wood that is both safe for food preparation and suitable for turning on a lathe.
- Lathe: A lathe is a tool that allows you to shape wood while it revolves. Lathes come in a wide variety of designs, from straightforward benchtop versions to more substantial floor-standing models.
- Tools: A roughing gouge, a spindle gouge, a bowl gouge, a parting tool, and a skew chisel are needed for shaping the bowl. A set of chisels, a scraper, and a sanding block may also be used in addition to these instruments.
- Sandpaper: After the bowl has been formed, the surface is smoothed using sandpaper. There must be a variety of grits, from coarse to fine.
- Finish: The wood is protected and its natural beauty is enhanced by using a food-safe finish, such as mineral oil.
Frequently Asked Questions about Making Wooden Bowls
Can I make a bowl out of wood without a lathe?
The term “hand-carved” or “hand-turned” bowl refers to a wooden bowl that has been made by hand. Hand tools like chisels, knives, and gouges are used to shape the bowl during this procedure. The method is significantly quicker and more practical when a lathe is used, though.
What kind of wood is ideal for using to make wooden bowls?
Maple, cherry, walnut, oak, and beech are just a few of the woods that can be used to make bowls. Depending on your particular preferences and the bowl’s intended function, you can choose the best sort of wood.
How much time does it take to make a wooden bowl?
The size and complexity of the design, as well as the maker’s skill level, will all affect how long it takes to build a wooden bowl. The average time to finish a bowl ranges from a few hours to a few days.
Can you serve meals from a wooden bowl?
Yes, you can use a wooden bowl to serve food, but in order to maintain the wood and guarantee that it is suitable for contact with food, you must use a food-safe finish.
How should I maintain my wooden bowl?
Avoid subjecting your wooden bowl to extremely high or low temperatures, or moisture. Avoid putting it through the dishwasher. Instead, thoroughly clean it with warm, soapy water. The wood will be protected and preserved for years to come with regular applications of a food-safe oil.
Final Words
Making a wooden bowl is a rewarding experience that requires patience and attention to detail. The process of making a wooden bowl involves choosing the right wood, designing the bowl, preparing the wood, shaping the bowl, and finishing the bowl. With the right tools and techniques, anyone can make a beautiful and functional wooden bowl that can be used for serving food or displaying household items. Whether you are a beginner or an experienced woodworker, making a wooden bowl is a fun and enjoyable project that can be completed in a weekend.